
Christmas Lighting Guides / Commercial and Community Guides
HOA Christmas Light Installation in Charlotte: A Planning Guide for Boards and Property Managers
By Little Elves Lighting Pros · Published
An HOA display works best when the board agrees on the experience, the shared areas and the approval path before a crew is scheduled. Begin by outlining the places residents and visitors actually see, then use a written scope to make the decision easy to review. Our commercial holiday lighting overview explains the same property-planning approach used for managed sites and shared spaces.
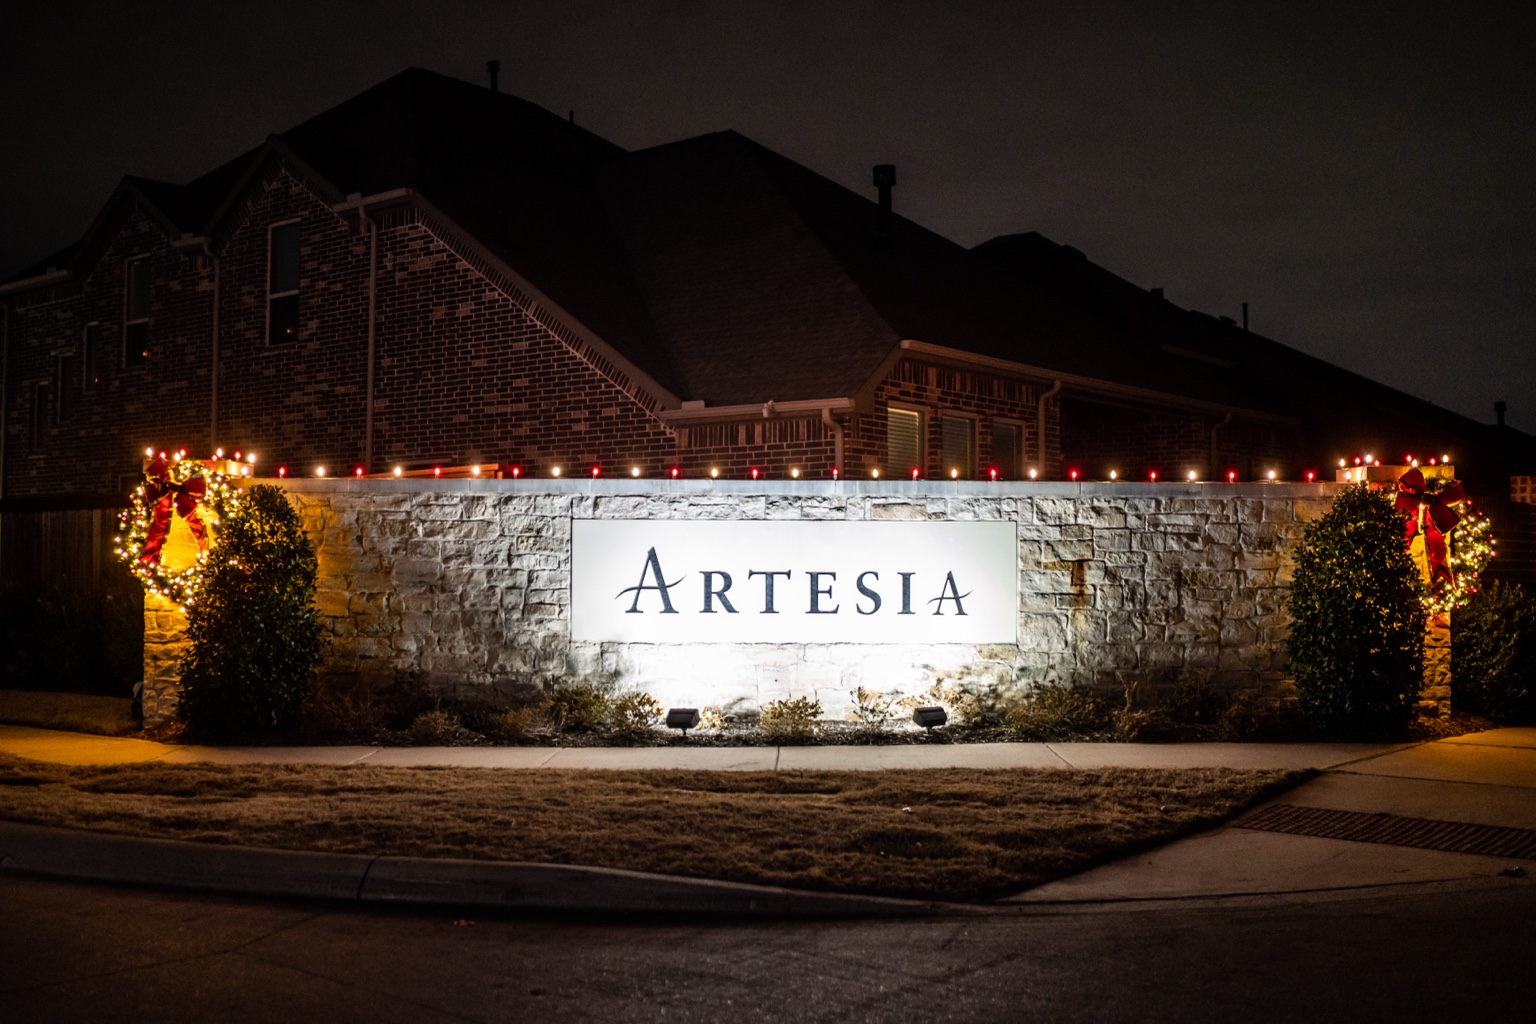
HOA Christmas light installation in Charlotte is a community project, not a collection of individual home displays. The goal is a cohesive welcome at entrances, clubhouses and common areas while keeping access, resident routines and association rules in view.
Start with a shared scope
Walk or drive the property at the time residents and guests usually arrive. Note the entrance signs, monument features, clubhouse approach, gathering spaces and trees that are visible from the main roads. A full-site photo set or simple map helps the board discuss the same view instead of relying on different impressions.
Separate the essential focal points from the areas that are simply available. One strong entrance and a well-chosen clubhouse detail may feel more intentional than trying to light every path and tree. Ask the vendor to show how the display reads from the arrival route, not only in close-up images.
| Area | Decision for the board |
|---|---|
| Community entrances | Which signs, gates or approach views should anchor the display? |
| Clubhouse or amenity spaces | Which doors, roof edges or gathering areas deserve a seasonal focal point? |
| Shared trees and planting beds | Which features support the entrance, and which should stay quiet? |
| Resident and visitor routes | What must remain clear for vehicles, pedestrians, deliveries and events? |
| Power and access | Where are outlets, gates, slopes, working areas and property restrictions? |
| Season dates | When should the display be ready, and when can removal take place? |
Build a board approval process
Choose one project contact and list the people who need to review the concept. That may include the board, a property manager, a facilities contact and an association committee. A clear review path keeps a good design from stalling because no one knows who can answer an access or scope question.
- Write the brief. Describe the shared areas, preferred mood, display-ready date, known rules and the limits you want respected.
- Review a concept. Use photos or a site walk to discuss the focal points, palette, scale and areas intentionally left dark.
- Request a written proposal. Ask for the display scope, materials, access plan, seasonal support, removal and current commercial or community quote in one document.
- Record the decision. Keep the approved concept, proposal, responsible contact and schedule together for the season.
If the association has a formal approval or procurement step, share its deadlines at the start. The HOA and community lighting service page describes the property-specific consultation; the final agreement remains the place to confirm scope and terms.
Questions to ask a lighting vendor
A useful vendor conversation should make the work easier for the board to explain to residents. Ask questions that reveal what the quote includes and how the season will be handled.
| Question | Why it matters |
|---|---|
| What exactly is included? | Entrances, signs, clubhouses, trees and pathways should be named rather than described as the whole property. |
| How will installation affect access? | The plan should account for gates, traffic, events, resident routes and working space. |
| Who coordinates with the property manager? | The board needs one clear contact for approvals, access and decisions. |
| What happens if something needs attention? | Ask how to report an issue and what seasonal support the agreement describes. |
| What is the removal plan? | Confirm the takedown window, access responsibilities and what happens to the lighting afterward. |
| How are changes handled? | Ask how added areas, revised dates or scope changes are reviewed and priced. |
Create a cohesive look across entrances and clubhouses
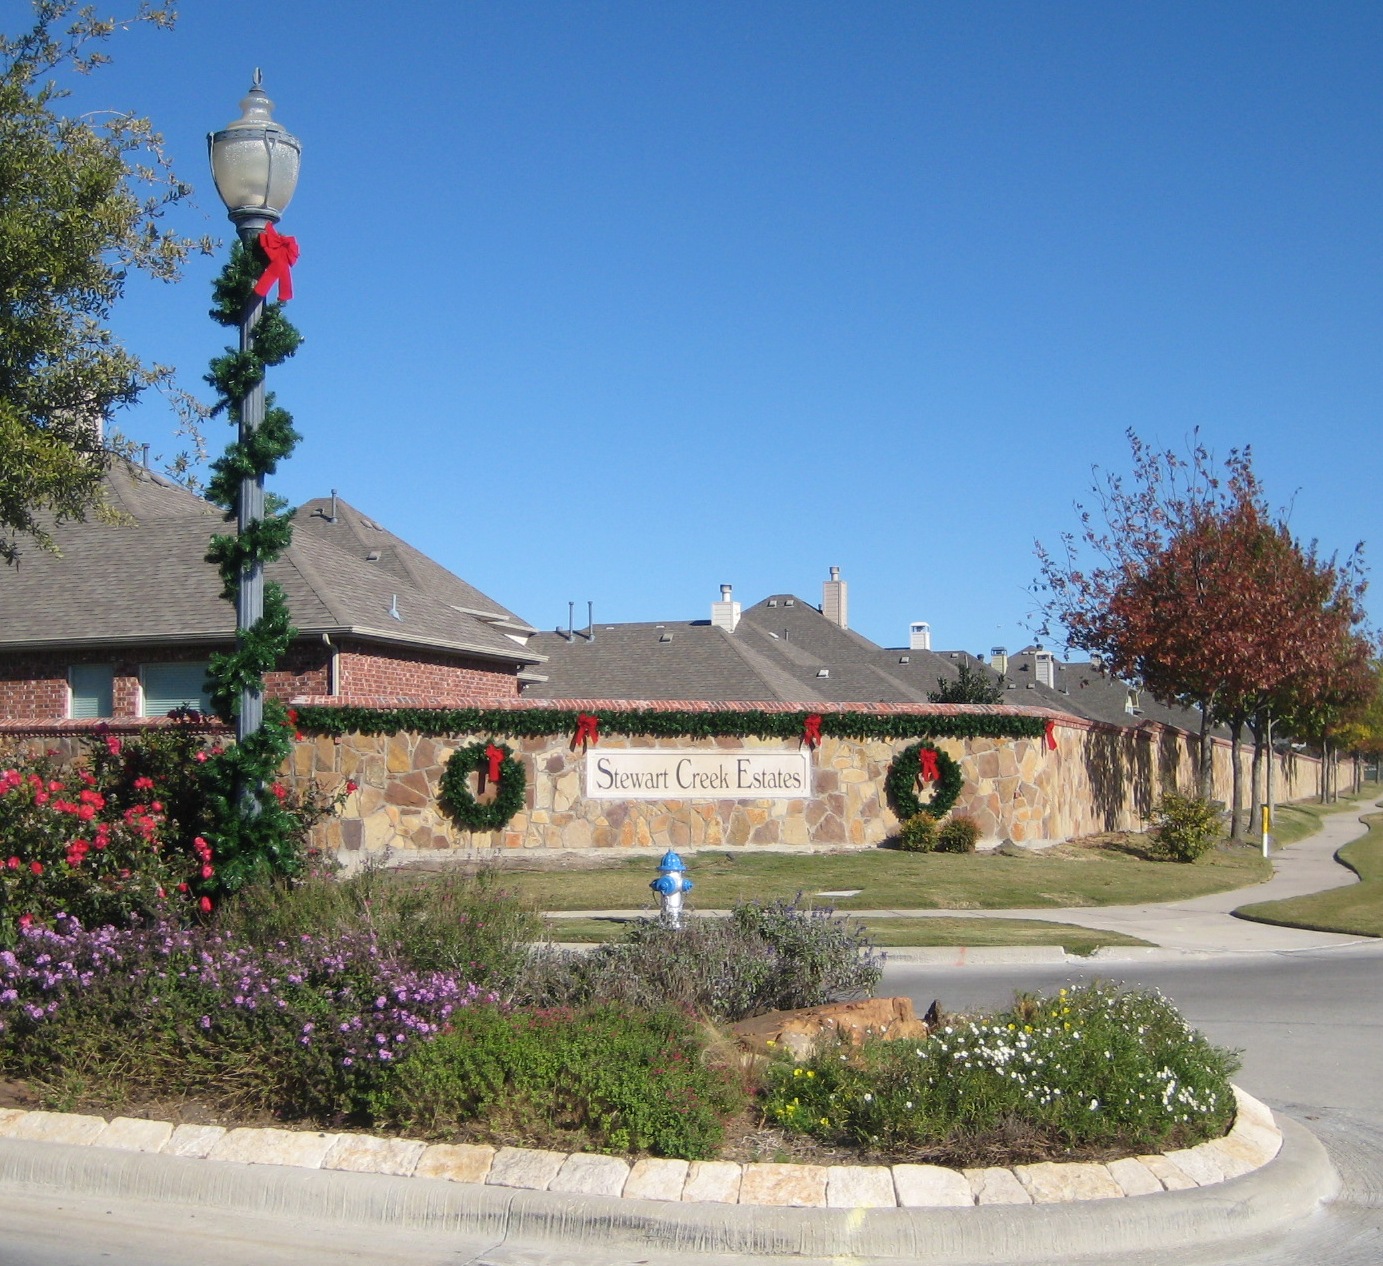
Consistency comes from repeating a few decisions. Choose a lighting tone or limited palette, then use it at the main entrance, the clubhouse approach and any secondary feature you want connected. The scale can change from one area to another without making every space identical.
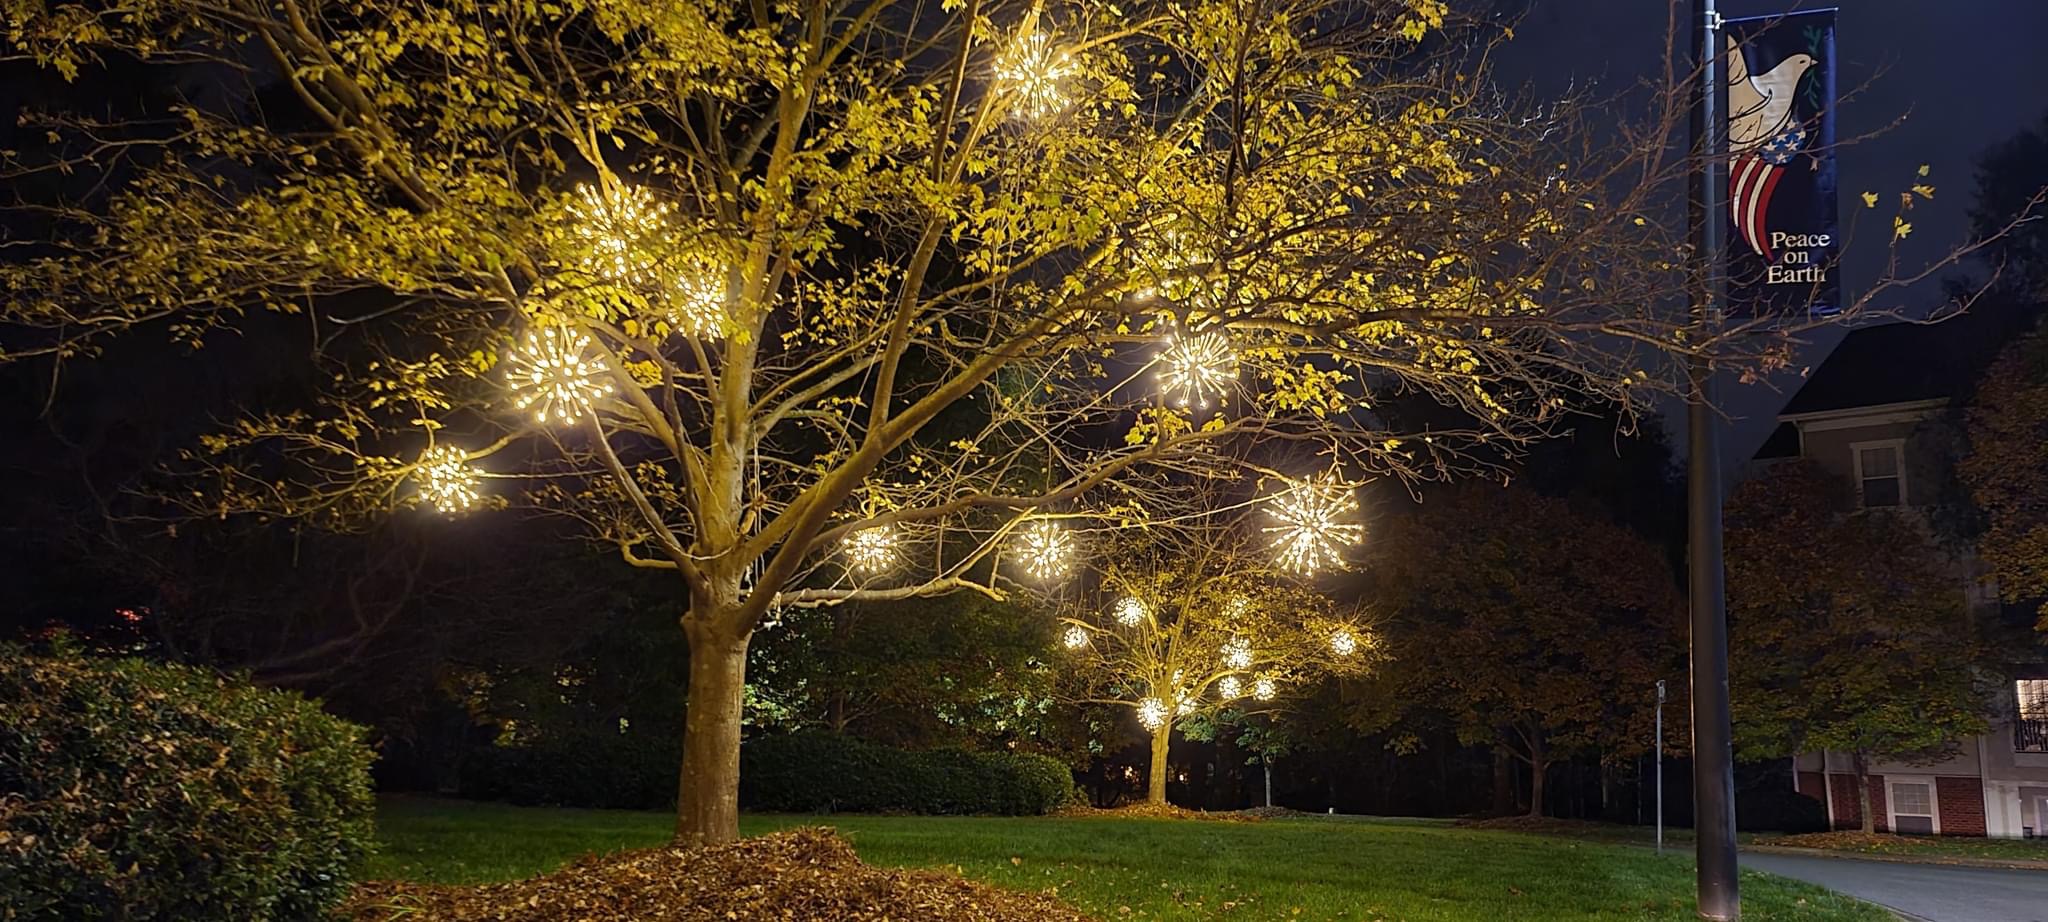
Let the hierarchy follow the way people move through the property. The primary entrance can carry the strongest detail. A clubhouse can echo that tone with a defined roofline or entry accent. Shared trees and planting beds can support the route when they have a clear relationship to those focal points.
Keep signs readable and leave room for everyday life. A beautiful concept still needs to work with parking, deliveries, accessible routes, snow or weather conditions and resident events. Our real installation gallery can help a committee compare restrained and fuller directions without treating another property as a template.
When should the conversation start?
Give the board enough time to discuss the look, collect questions, complete any approval step and confirm a workable installation window. Earlier conversations are especially useful when the property has several entrances, multiple decision-makers or a date tied to a community event.
| Planning window | Useful work |
|---|---|
| May–June | Gather last season’s feedback, photograph shared areas and agree on the experience the community wants. |
| July–August | Discuss a concept with vendors, identify access and power questions, and list approval or procurement deadlines. |
| September | Circulate the written scope and quote, answer resident-facing questions and record the board decision. |
| October | Confirm the responsible property contact, installation access, event conflicts and display-ready date. |
| November–January | Review the display during the season, note service questions and confirm the removal window. |
There is no single cutoff that guarantees a preferred date. The right time to begin depends on the size of the property, the approval path and the availability confirmed for the agreed scope.
Bring the board a decision it can support
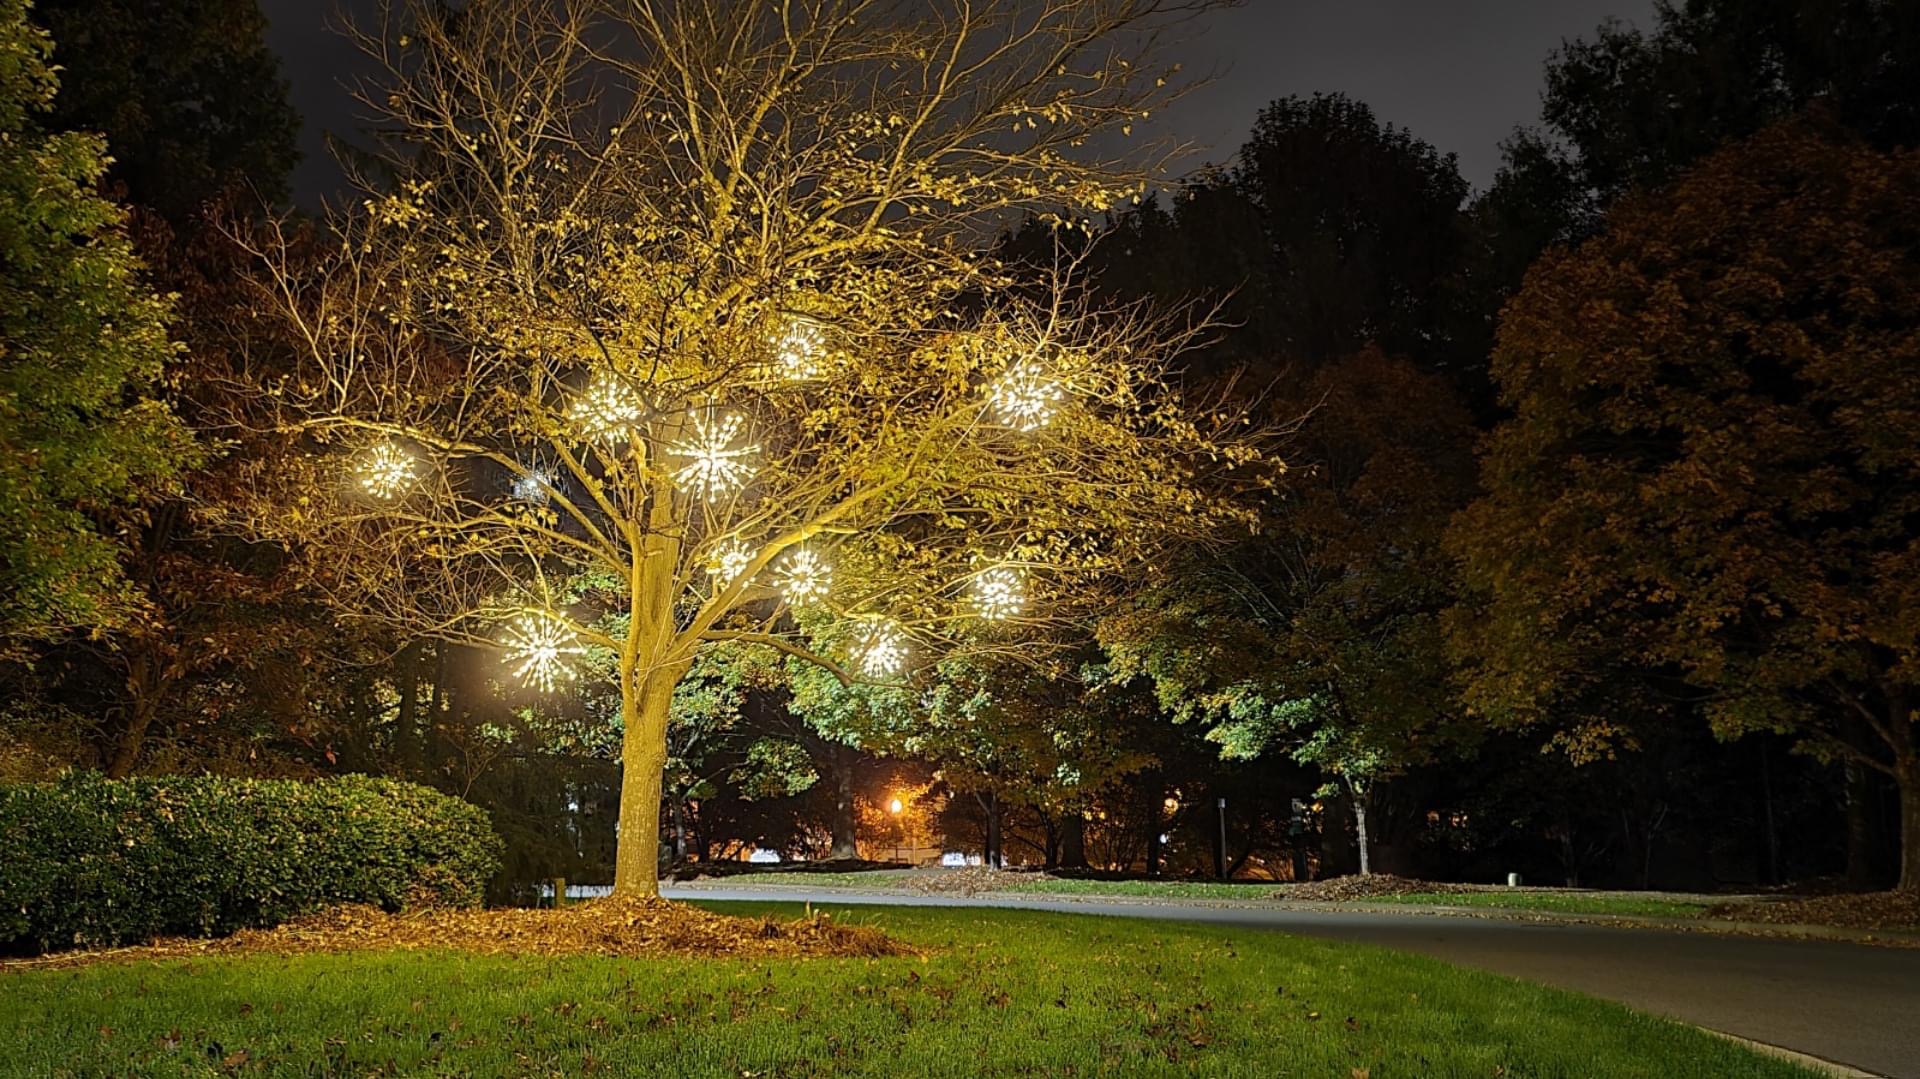
A strong HOA lighting plan gives the community a clear picture and the property manager a practical checklist. Define the focal points, name the responsibilities and keep the approved scope with the seasonal schedule. That is enough to move from a broad idea to a display residents can recognize as their community’s welcome.